No Soldering Required: Explore Alternatives for Building Your Arduino Car
Discover solder-free alternatives for your Arduino car project! From breadboards and jumper wires to terminal blocks and header pins, explore reliable and flexible connection methods. Build with confidence and unleash your creativity without the hassle of soldering. Get started today!
May 27, 2023
Building an Arduino car doesn't have to involve soldering! In this comprehensive guide, we'll explore various solder-free methods to connect your components, making the building process more accessible and flexible for beginners and experienced makers alike.
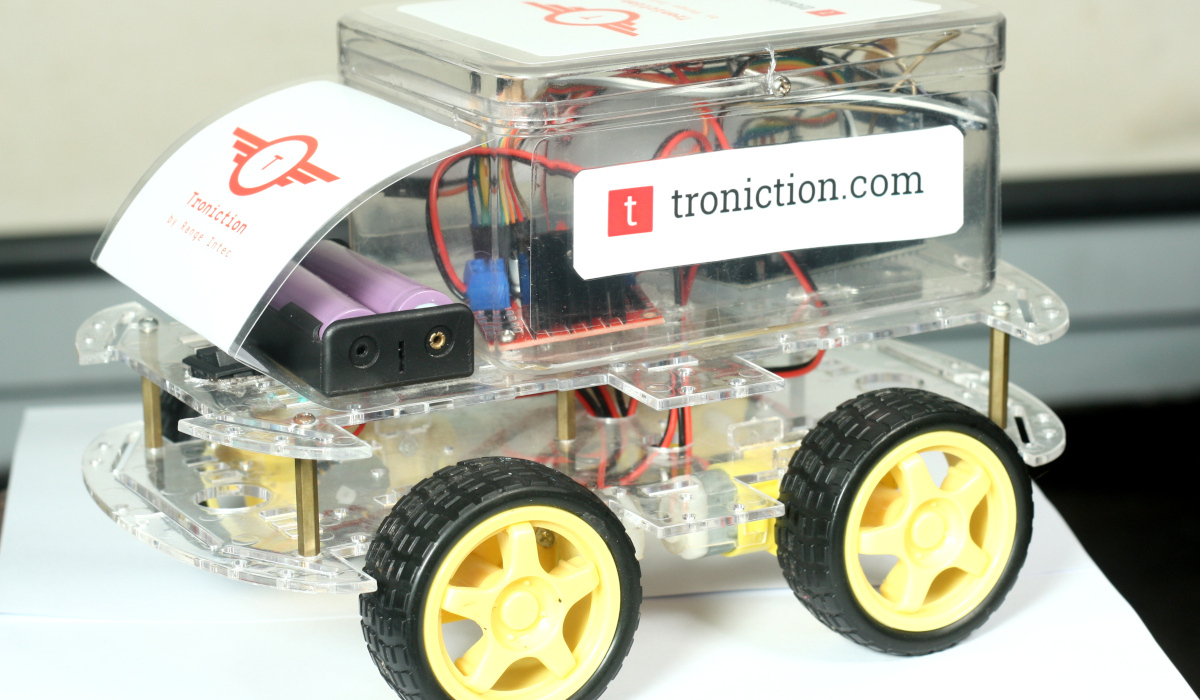
A fully assembled Arduino car built without soldering
Why Choose Solder-Free Methods?
Beginner Friendly
- No specialized equipment required
- Safer for beginners
Flexible & Reusable
- Easy to modify and troubleshoot
- Quick to assemble and disassemble
Essential Tools and Materials
Basic Tools
- Wire strippers
- Small screwdriver set
- Electrical tape
Connection Components
- Breadboard (for prototyping)
- Jumper wires (male-to-male, male-to-female)
- Terminal blocks
- Header pins
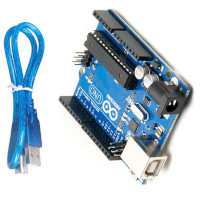
Arduino Uno R3 - The brain of your car
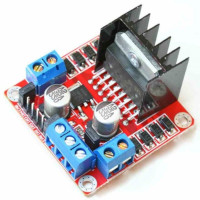
L298N Motor Driver - Controls your car's movement
Connection Methods
1. Breadboard Connections
Breadboards are perfect for prototyping and temporary connections. They allow you to:
- Quickly test different configurations
- Make changes without permanent modifications
- Create complex circuits without soldering
- Protect your components from damage
2. Jumper Wires
Jumper wires come in various types and are essential for:
- Connecting components to the Arduino
- Creating temporary connections
- Testing different configurations
- Building modular circuits
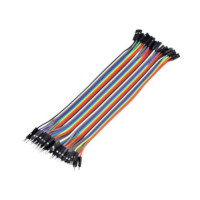
Male-to-female jumper wires for easy connections
3. Terminal Blocks
Terminal blocks provide secure, screw-based connections that are:
- Easy to connect and disconnect
- Reliable for permanent installations
- Suitable for different wire sizes
- Professional-looking when properly installed
4. Header Pins
Header pins offer a clean and professional way to:
- Connect modules to your Arduino
- Create removable connections
- Organize your wiring
- Make maintenance easier
Step-by-Step Assembly Guide
- Start with the breadboard for initial testing
- Use jumper wires to connect components
- Test each connection before proceeding
- Secure connections with terminal blocks
- Add header pins for modular components
- Organize and secure all wires
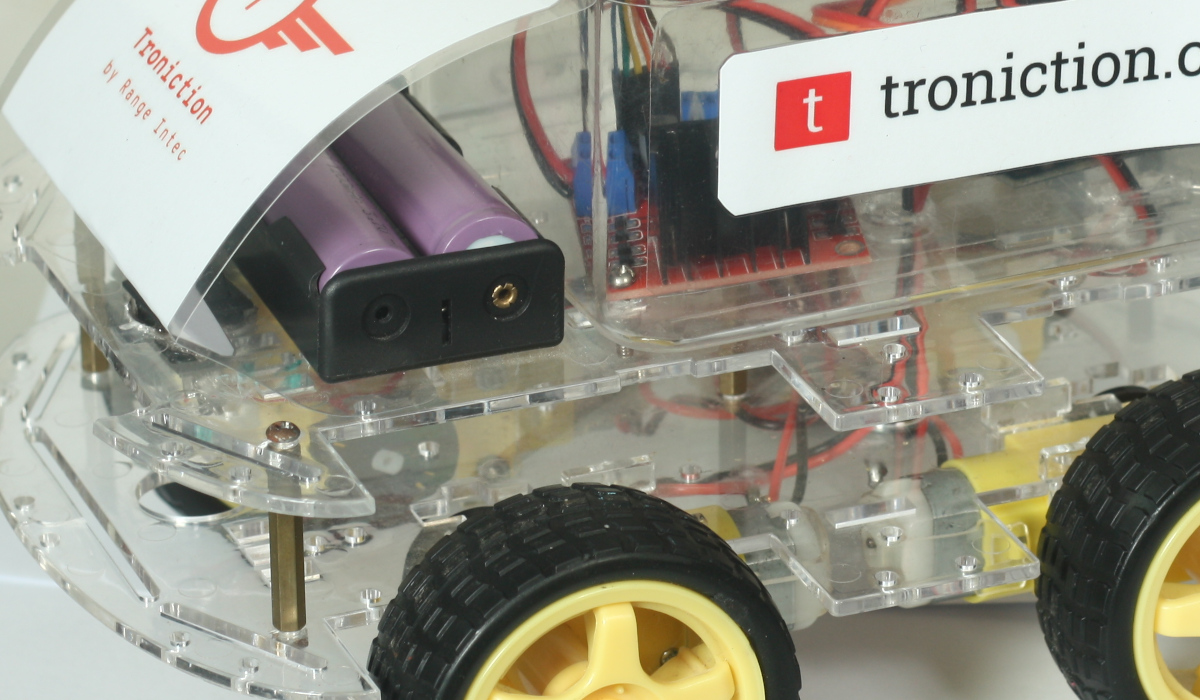
Close-up view of the Arduino car's components
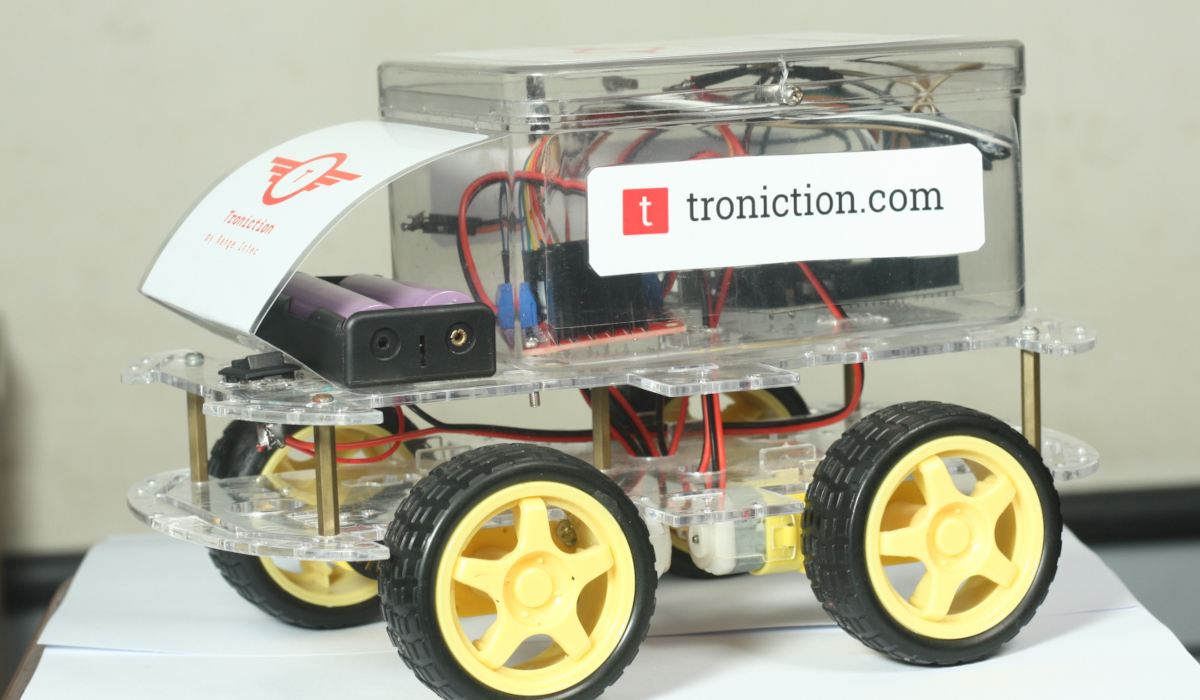
Side view showing the car's structure
Tips for Clean Wiring
- Use appropriate wire lengths
- Group related wires together
- Label connections for easy identification
- Use cable ties for organization
- Keep wires away from moving parts
Common Challenges and Solutions
Connection Issues
- Loose connections: Use terminal blocks or header pins
- Wire organization: Use cable ties and labels
Protection & Maintenance
- Component protection: Use electrical tape or heat shrink
- Space management: Plan your layout carefully
Safety Considerations
- Check all connections before powering on
- Use appropriate wire gauges
- Protect exposed connections
- Keep wires away from heat sources
- Regularly inspect connections
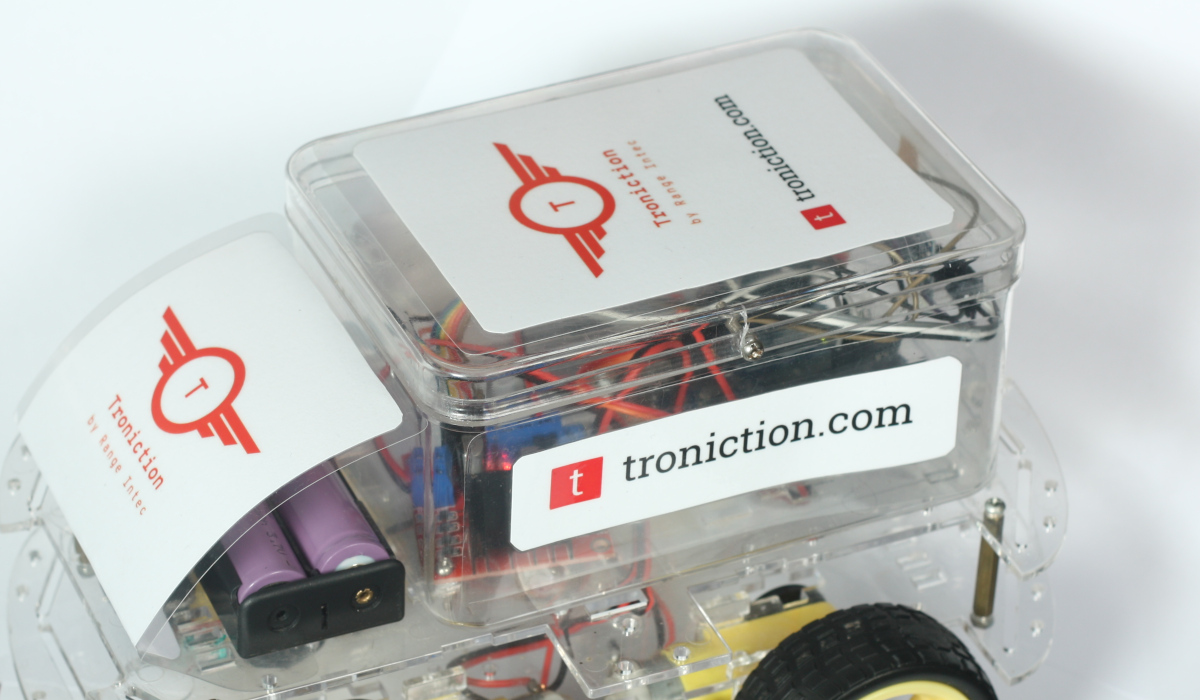
Top view showing the clean wiring and component organization
Building your Arduino car without soldering is not only possible but can also be more flexible and beginner-friendly. These methods allow you to experiment, modify, and perfect your design without the commitment of permanent connections.
For more Arduino car building resources, tutorials, and inspiration, visit troniction.com. Happy building!