A Step-by-Step Guide Using Arduino Create Agent on Windows
Discover the ultimate guide to uploading an Arduino car controlling sketch using Arduino Create Agent on Windows. Follow our beginner-friendly steps to unleash your creativity and turn your ideas into a reality. Download the sketch from troniction.com and embark on an exciting journey of Arduino-powered car control. Get ready to take charge and bring your Arduino car to life with ease and confidence.
June 09, 2023
Are you ready to take control of your Arduino car project? Look no further! In this comprehensive guide, we'll walk you through the process of uploading an Arduino car controlling sketch using Arduino Create Agent on Windows. Whether you're a beginner or an experienced maker, our step-by-step instructions will help you bring your Arduino car to life.
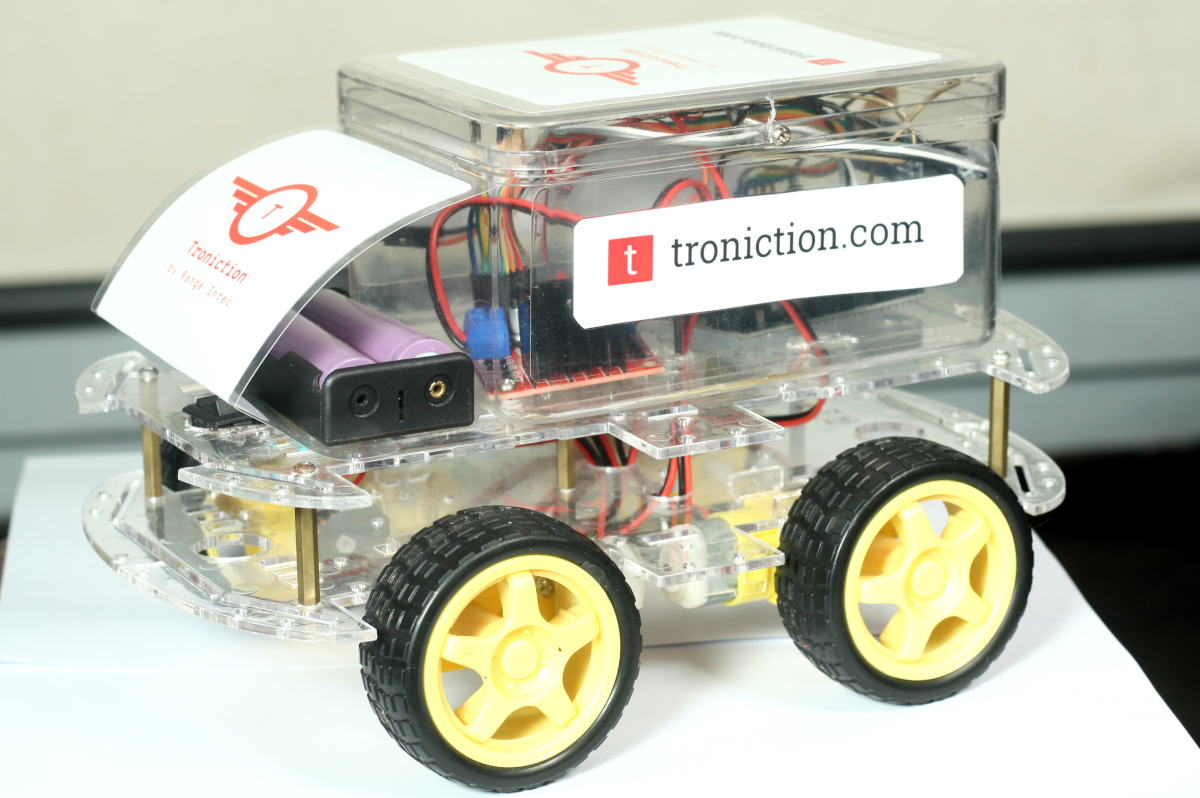
A fully assembled Arduino car ready for programming
Prerequisites
- Arduino Create Agent installed on your Windows computer
- Arduino Uno R3 board
- USB cable to connect your Arduino to your computer
- Arduino car controlling sketch downloaded from troniction.com
- Windows 10 or later operating system
- At least 2GB of free RAM
- Stable internet connection
Required Libraries
Before proceeding, make sure you have the following libraries installed in your Arduino IDE:
- ArduinoJson (version 6.x)
- Servo (built-in)
- Wire (built-in)
Step 1: Install Arduino Create Agent
If you haven't already installed Arduino Create Agent, follow these steps:
- Visit Arduino Create
- Click on "Download Arduino Create Agent"
- Run the downloaded installer
- Follow the installation wizard prompts
- Restart your computer after installation
Step 2: Connect Your Arduino
Proper connection is crucial for successful communication:
- Connect your Arduino Uno R3 to your computer using a USB cable
- Wait for Windows to recognize the device (you should see a notification)
- Open Device Manager and verify the Arduino appears under "Ports (COM & LPT)"
- Note down the COM port number assigned to your Arduino
Step 3: Open Arduino Create
Launch Arduino Create and prepare your environment:
- Open your web browser and go to create.arduino.cc
- Sign in to your Arduino account (create one if you don't have it)
- Click on "Web Editor" to open the Arduino Create IDE
- Wait for the Arduino Create Agent to detect your connected board
Step 4: Upload the Sketch
Follow these steps to upload your sketch:
- Open the Arduino car controlling sketch you downloaded from troniction.com
- In the board selector (top-right), select "Arduino Uno"
- Select the correct port from the port dropdown menu
- Click the "Upload" button (arrow icon) to transfer the code
- Watch the upload progress in the status bar
- Wait for the "Upload Complete" message
Step 5: Test Your Arduino Car
After successful upload, verify everything is working:
- Check if the LED on your Arduino is blinking (indicates the program is running)
- Test each motor direction (forward, backward, left, right)
- Verify the speed control functionality
- Test any additional features specific to your car's design
Common Issues and Solutions
1. Board Not Detected
- Ensure Arduino Create Agent is running in the system tray
- Try using a different USB cable
- Check if the correct drivers are installed
- Restart the Arduino Create Agent service
2. Upload Failures
- Verify the correct board and port are selected
- Check if the sketch is compatible with your Arduino model
- Ensure all required libraries are installed
- Try uploading with a lower baud rate
3. Communication Issues
- Check your internet connection
- Verify the Arduino Create Agent is up to date
- Try clearing your browser cache
- Check if your firewall is blocking the connection
Next Steps
Now that your Arduino car is up and running, here are some suggestions for further exploration:
- Experiment with different motor speeds and control patterns
- Add sensors for obstacle detection
- Implement wireless control using Bluetooth or WiFi
- Customize the code to add new features
For more Arduino car projects, tutorials, and inspiration, visit troniction.com. Happy building!