Unique Learning Experience
Build a Remote-Controlled Rechargeable-Battery Operated Electronic Car from Scratch
Experience Memorable and Enjoyable Learning: Build a Remote-Controlled Rechargeable-Battery Operated Electronic Car from Scratch.
Transform your electronics knowledge with an engaging real-world project. Join us at Troniction for a remarkable learning experience where you can learn the basics of electronics while creating a remote-controlled rechargeable-battery operated electronic car from start to finish.
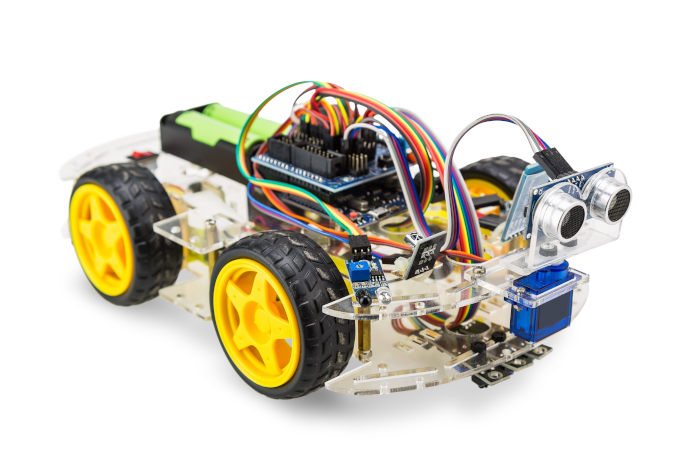
The Ultimate All-in-One Solution for Building Arduino Cars
Troniction offers a comprehensive resource hub where you can find all the information you need in one convenient place. From purchasing the necessary components to connecting various electronics parts, car software coding, and even controlling the car via Bluetooth, Troniction has it all. Say goodbye to wasting time searching through multiple websites for scattered information. Trust Troniction to provide everything you need for building a car from scratch. Experience the convenience of having all the essential resources in one centralized platform.
Build My CarEmbark on a Guided Journey: Step-by-Step Building Process for Arduino Cars
Building an Arduino-based electronic car may seem like a complex endeavor, but fear not! At Troniction, we have meticulously crafted a comprehensive step-by-step guide to help you bring your car to life effortlessly. By following our carefully outlined steps, you'll navigate the construction process with ease and achieve your first successful car build. Each step is intricately explained, ensuring a clear understanding of the process and swift progress towards your desired end product. Let Troniction's guided steps ignite your passion for building electronic cars, empowering you to take that crucial first step towards becoming an Arduino car maestro. Start your journey today and witness the wonders of building your very own Arduino-based car, one step at a time.
+ Connection Diagrams
Simplify Complex Connections: Comprehensive Connection Diagrams for Electronics Components
Navigating the intricate world of electronics components can be overwhelming, particularly for those unfamiliar with the field. Fear not, for Troniction comes to the rescue with meticulously designed connection diagrams for every component. Our intuitive diagrams serve as your guiding light, seamlessly piecing together the puzzle of connectivity. Gone are the days of poring over endless datasheets during your initial car build. With Troniction's connection diagrams, you can effortlessly bring your car to life without getting lost in the technical details. However, should you desire a deeper understanding, rest assured that you can always refer to the datasheets and delve into the fascinating realm of knowledge they hold. Trust in Troniction's connection diagrams to simplify your journey and empower you to connect with confidence.
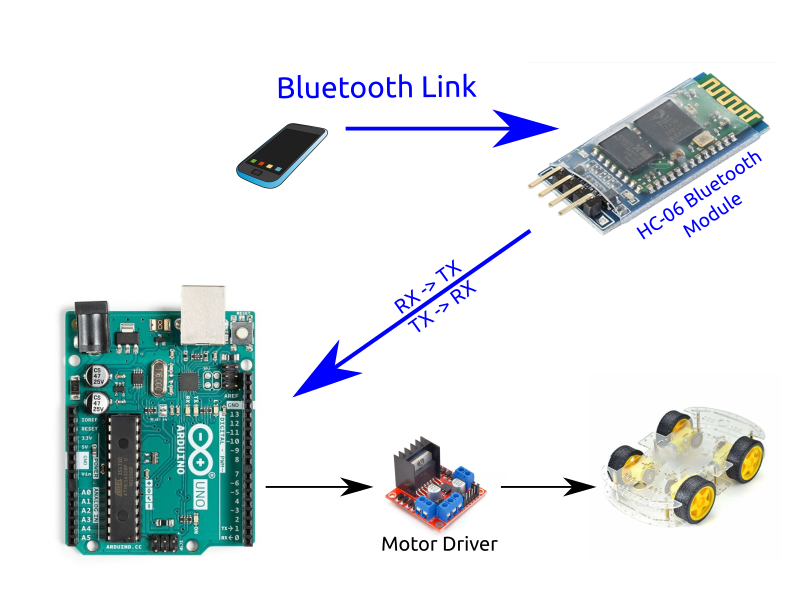
Car Coding | .h + .ino
Seamless Code Integration: Code .h and .ino Files for Precision Car Control
To exert control over your car, programming becomes a vital component. You must instruct your car on how to respond to your commands. By crafting software on your laptop and uploading it to the board, you unlock the true potential of your creation. Troniction simplifies this process by offering convenient code file explainers directly from our website. Effortlessly upload these files to your car, sparing yourself from the challenges typically encountered during initial programming endeavors. But the benefits don't end there. Troniction warmly invites you to revisit our website, where you can explore comprehensive code explanations, unraveling the secrets embedded within each line. Customize the code to your heart's content, granting you full control over your car's behavior. Experience the synergy between code and creation with Troniction's downloadable .h and .ino files, elevating your car-building journey to new heights.
Code My CarJust FYI: .ino File Extension is a Arduino Sketch File
Concrete Model
Troniction Car: A Trusted Concrete Model Reflecting Excellence (Learning Purpose)
Discover the Troniction Car, a tangible manifestation of our expertise and craftsmanship showcased on our website. This Concrete Model(1) serves as a testament to our in-depth knowledge and experience in building electronics cars from scratch to completion. With the Troniction Car, you can trust in the accuracy and authenticity of the information provided. Rest assured, the final result of your Arduino-based car building project is backed by our unwavering commitment to excellence. The captivating photos and videos displayed on our website are testimonials to the actual product created using the very information you will find here. Let the Troniction Car inspire your confidence as you embark on your own car-building journey.
Troniction Support Channels
Your Path to Building an Arduino-Based Car Made Easy
At Troniction, we strive to provide you with everything you need to successfully build your custom car based on Arduino. However, we understand that questions and challenges may arise along the way. That's why we offer various support channels to ensure you receive the assistance you need.
Engage with our vibrant community and post your queries on our Facebook page, where fellow car builders and our knowledgeable team can offer guidance and solutions. Alternatively, visit the Troniction website's contact page, where you'll find multiple communication methods to reach us directly. We are committed to your success and more than happy to provide the support necessary to build your first Arduino-based remote-controlled car.
Experience the peace of mind that comes with knowing help is just a click away. Let Troniction be your trusted companion on this exciting car-building journey.
Build My CarFootnote (1) In line with the CRA Instruction Model, a concrete model employs physical objects to enhance learning and understanding (Miller & Kaffar, 2011). Troniction embraces this approach, offering a tangible representation of our expertise and the successful outcomes you can achieve through our guidance.
6 Step Troniction Guide
We've distilled the essence of Arduino car building into a concise, easy-to-follow guide. With complete illustrations and a reference section, this comprehensive yet compact book eliminates unnecessary technical jargon, delivering only the essential instructions you need to bring your dream car to life.
Step 1: Get - Get the Components
Step 2: Wire - Wire together Components
Step 3: Write - Write the Code
Step 4: Upload - Upload the Code
Components
Unlock the Secrets: Get Your Copy Now!
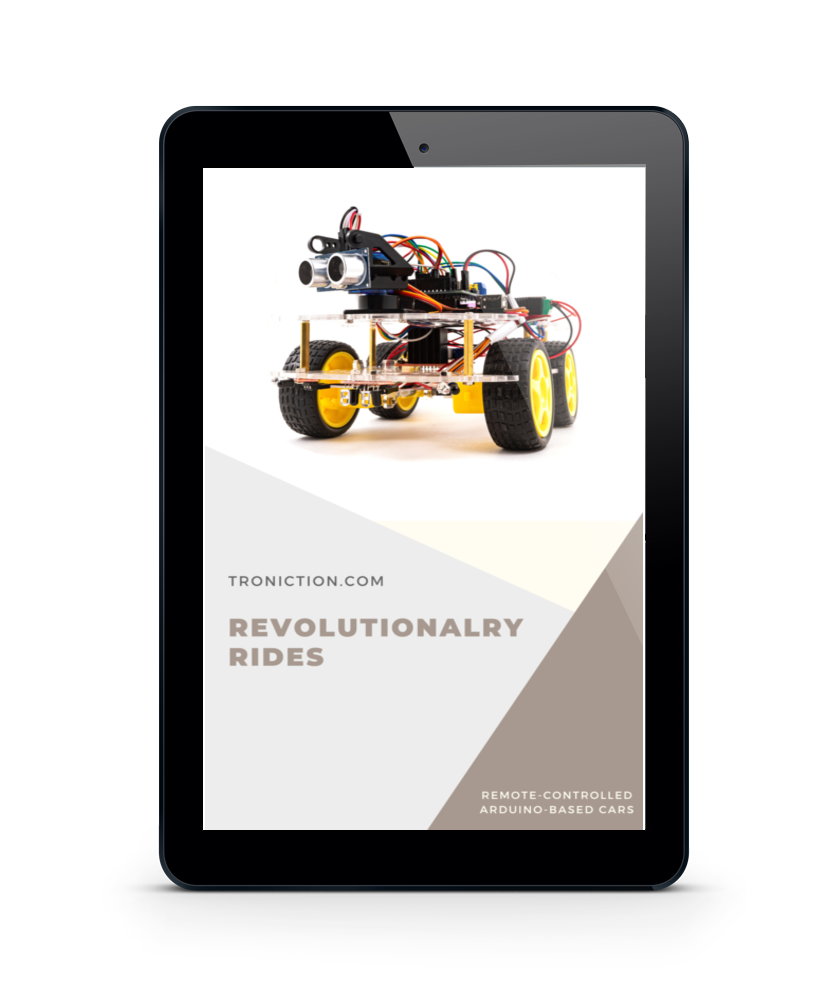
Discover the ultimate resource for building your very own remote-controlled Arduino-based electronic car. Download the comprehensive PDF file that contains everything you need to know, right at your fingertips.
Get the Book Now!Consider this book your faithful companion on your Arduino car-building journey. From start to finish, it provides step-by-step guidance, ensuring you have the knowledge and confidence to create your very own masterpiece.
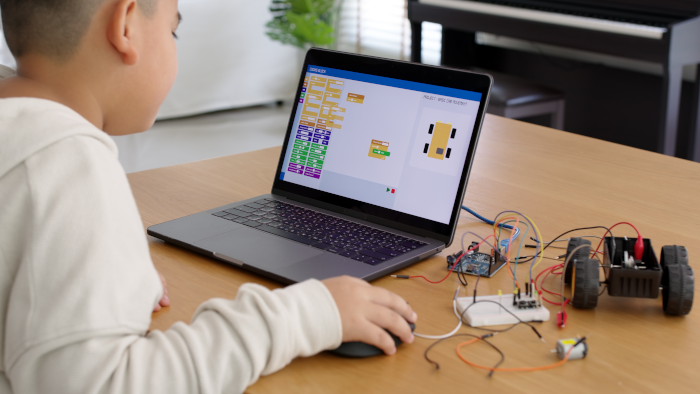
As the famous quote by Benjamin Franklin wisely states, "Tell me and I forget, teach me and I may remember, involve me and I learn." This sentiment holds true when it comes to building an Arduino car.
Imagine the thrill of actively engaging with each component, each wire, and each line of code as you bring your Arduino car to life. Building an Arduino car goes beyond mere instruction—it immerses you in a hands-on learning experience that engraves knowledge and skills deep into your memory.
Visit Troniction YouTube Channel
By actively participating in the process, you gain a profound understanding of electronics, coding, and mechanics. You grasp the intricacies of each component's function, develop problem-solving abilities, and refine your critical thinking skills. It's a transformative journey that sparks curiosity, nurtures creativity, and empowers you to turn your ideas into reality.
“Tell me and I forget, teach me and I may remember, involve me and I learn.”
Building an Arduino car fosters a deep sense of ownership and accomplishment. As you witness your creation move and respond to your commands, you realize the power of your involvement. You become a creator, a problem solver, and an innovator.
Moreover, the skills you acquire while building an Arduino car extend far beyond this project alone. They form a solid foundation for future endeavors in robotics, automation, and electronics. The knowledge gained through involvement is not easily forgotten—it becomes a part of you, empowering you to tackle new challenges and pursue endless possibilities.
So, don't settle for mere instruction. Embrace the power of involvement, seize the opportunity to build your own Arduino car, and embark on a journey of learning, growth, and boundless discovery. Unleash your potential and let the experience of building an Arduino car shape your future.
Start your transformative journey today!
An Unforgettable Birthday Gift
Build a Singing Car!
Make your child's birthday truly extraordinary with a one-of-a-kind gift that combines fun, education, and creativity. Introducing the Singing Car New—an experience like no other, where your car becomes a musical companion that sings 'Happy Birthday' in style!
Imagine the joy on your child's face as they take the wheel of their very own handmade car, driving around while being serenaded by the familiar tune of 'Happy Birthday.' This unique and engaging experience will create cherished memories that will last a lifetime.
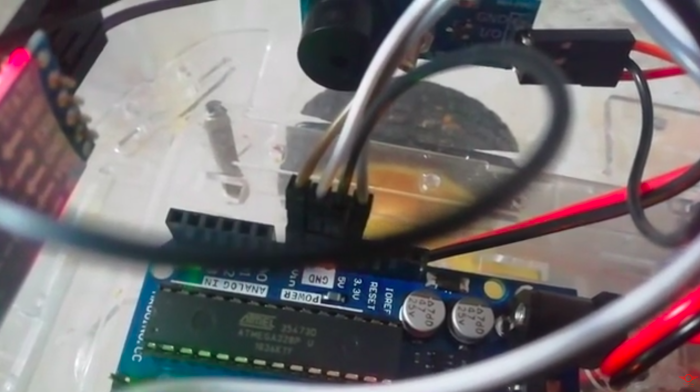
Watch Troniction car playing 'Happy Birthday' on YouTube
Building a car from scratch is more than just a gift—it's an adventure that fosters learning and growth. By embarking on this journey together, you and your child will discover the fascinating world of electronics, mechanics, and coding. It's a hands-on educational experience that sparks curiosity and nurtures their problem-solving skills.
Not only will your child have a blast assembling the car piece by piece, but they'll also develop a sense of pride and accomplishment as they witness their creation come to life. The Singing Car New is designed to provide a captivating and enriching experience that will ignite their imagination and fuel their passion for exploration.
Give your child the gift of empowerment and creativity. With the Singing Car New, they'll not only receive a thrilling birthday surprise but also gain invaluable knowledge and skills that will serve them well into the future.
So, why settle for ordinary birthday presents when you can gift your child an engaging and educational experience they'll never forget? Build a car from scratch and let the Singing Car New create magical moments on their special day.
Make this birthday an unforgettable celebration of learning, joy, and creativity. Start building your singing car now!
Start Building Your Car