
Blog
Arduino will not upload with Bluetooth connected? It is pins 0 and 1
Troniction
You press Upload. The IDE says Uploading… and then keeps saying it. Eventually it times out, or it just sits there forever. The sketch compiled fine. The board's power LED is on. Nothing in the error message mentions Bluetooth.
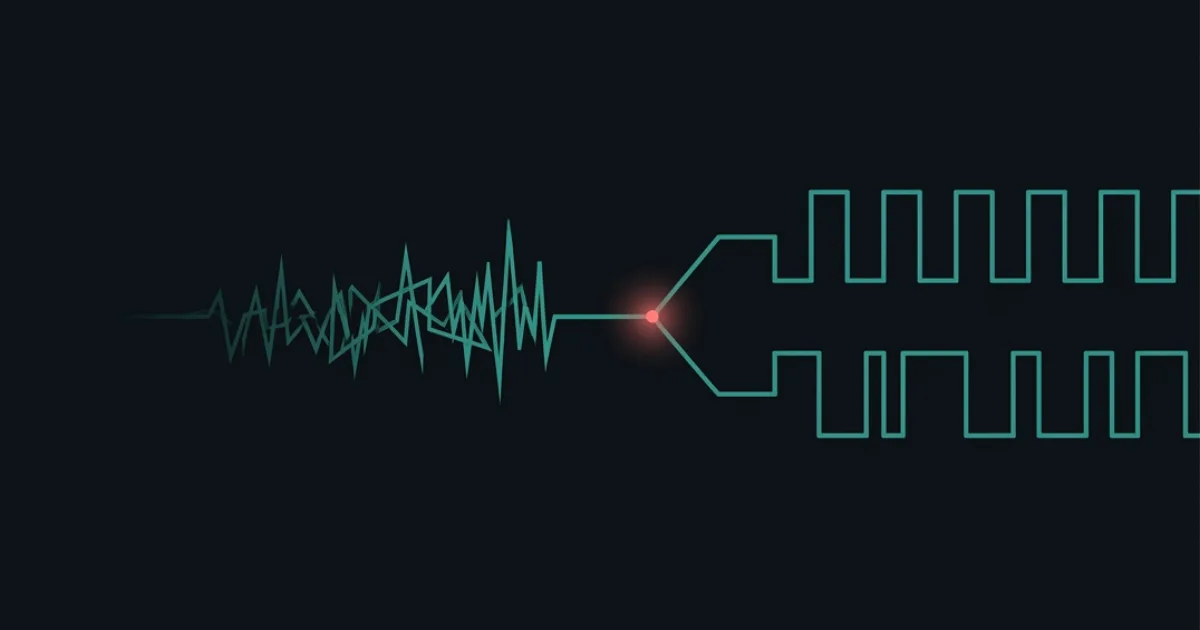
Your Arduino is almost certainly fine. The module is on pins 0 and 1, and those two pins are not ordinary pins — they are the board's hardware serial port, the same one the USB cable uses to load your sketch. Two devices are talking on one wire, and the bootloader is hearing noise where it expected its instructions.
Pull the module's TXD and RXD wires, upload again, and put them back. If it uploads, that was it. The rest of this page is how to stop having the problem at all.
What the error actually says
The messages vary by IDE version, but they land in one of three places:
| What you see | What it means |
|---|---|
avrdude: stk500_recv(): programmer is not responding | The bootloader never answered |
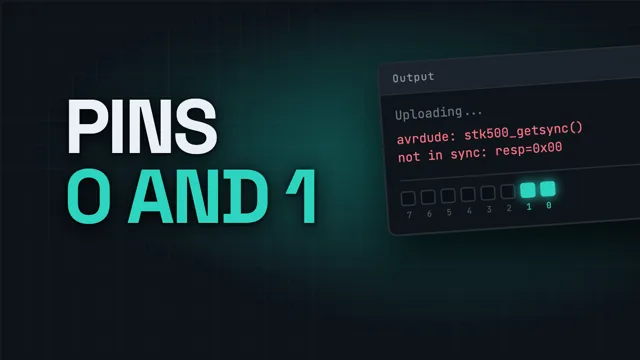
avrdude: stk500_getsync() attempt 1 of 10: not in sync: resp=0x00 | Something answered, but not with what avrdude expected |
| Uploading… forever, then a timeout, then nothing | Same thing, reported less usefully |
None of these say "Bluetooth", and that is the whole difficulty. They are generic upload failures — the same text appears for the wrong board selected, the wrong port, a charge-only USB cable, or a driver that never installed. So people work through the list they know: another cable, another USB socket, another computer, reinstall the IDE, and eventually a new board. The module never comes up, because the module was not what they changed.
The good news is that one test separates this cause from every other one, and it takes a minute.
The sixty-second test
Leave everything else exactly as it is.
- Pull only the two data wires between the module and the Arduino — the ones on pins
0and1. LeaveVCCandGNDconnected; the module can stay powered and it will not interfere. - Press Upload.
- If it uploads, you have your answer. Plug the two wires back in afterwards.
That is a clean result either way. If it uploads with the wires out, the module was the problem. If it still hangs with the wires out, the module is innocent and you have a different fault — the last section on this page is the list to work through.
Do this before you buy anything. A hanging upload is the single most expensive-looking symptom in this hobby, and this test costs a minute and no money.
Why pins 0 and 1 are different
Every Arduino Uno has exactly one hardware serial port — a piece of dedicated silicon that shifts bytes in and out without the processor having to think about it. On the Uno that port is brought out to two header pins: 0 is receive, 1 is transmit.
It is also wired to the USB chip. That is not a design mistake, it is the point: the USB connection is that serial port, exposed to your computer. It carries the Serial Monitor, and it carries the upload.
When you press Upload, the board resets and a small program called the bootloader runs first. For a fraction of a second it listens on that port for a specific handshake. If it hears it, it accepts the new sketch. If it hears anything else — or hears the handshake mangled — it gives up and runs the old sketch instead.
A Bluetooth module on those pins is a second device driving the same two wires. It does not know the bootloader exists, and the bootloader does not know it exists. Whatever the module happens to emit during that window lands in the middle of the handshake.
Two devices, one wire, and no way for either to know the other is there.
The bootloader's own speed is fixed by the board — 115200 on an Uno, 57600 on a Nano with the older bootloader — and it has nothing to do with your module's baud rate. Changing the module's baud will not fix this, and matching it to the bootloader will not either. Anything on those pins is a problem at any speed. If you are chasing a different symptom and baud rates are the suspect, that is the garbled-characters problem instead.
Fix one: unplug two wires
Pull TXD and RXD before every upload, put them back afterwards.
In its favour: it costs nothing, changes no code, and the module keeps the hardware serial port — which is genuinely the fastest and most reliable serial the board has.
Against it: you will forget. Not once — every few uploads, for as long as the project exists. And each time you forget, you will spend a few minutes back at the top of this page.
This is the right choice when you specifically need the hardware port: high baud rates, or a lot of data moving continuously. For most projects it is a tax you pay forever.
Fix two: move the module to SoftwareSerial
Leave pins 0 and 1 empty and put the module on two ordinary pins. Ten and eleven, by convention.
SoftwareSerial is a library that makes the processor imitate a serial port, bit by bit, on pins that have no serial hardware behind them. It ships with the IDE — nothing to install.
#include <SoftwareSerial.h>

// Arduino pin 10 <- module TXD  (the Arduino listens here)
// Arduino pin 11 -> module RXD  (through the divider)
SoftwareSerial bt(10, 11);   // RX, TX

void setup() {
  Serial.begin(9600);        // USB, to the Serial Monitor
  bt.begin(9600);            // the module
  Serial.println("Ready");
}

void loop() {
  if (bt.available()) {
    Serial.write(bt.read()); // module -> screen
  }
  if (Serial.available()) {
    bt.write(Serial.read()); // screen -> module
  }
}
That sketch is a passthrough: anything the module sends appears in your Serial Monitor, and anything you type in the Serial Monitor goes out over Bluetooth. It is the most useful twenty lines in the whole project, because it lets you watch the link instead of guessing at it.
The argument order is (RX, TX) from the Arduino's point of view, and it trips almost everybody once. Pin 10 is where the Arduino listens, so it connects to the module's TXD. Pin 11 is where the Arduino talks, so it connects to the module's RXD — through the voltage divider, exactly as before. The crossing rule has not changed. Only the pin numbers have.
In its favour: you can upload whenever you like, and the Serial Monitor stays free for debugging. That second point is worth more than it sounds — you can now print what the module actually sent you, which turns most of the remaining problems in this hobby from guesswork into reading.
Against it: SoftwareSerial is a real compromise, and it is worth knowing how before you commit.
What SoftwareSerial actually costs
It is not a free second serial port. It is the processor pretending to be one, and that has three consequences.
| Limitation | The detail |
|---|---|
| Speed | Nominally up to 115200, but not reliably. Around 0.2% of characters arrive corrupt at 115200, against 0% at 57600. At 9600 it is solid |
| Not full duplex | It cannot send and receive at the same time. Real hardware serial can |
| One receiver | With more than one SoftwareSerial port, only one can be listening. Two modules on two software ports will drop whatever arrives at the one that is not active |
None of that matters at 9600 with a single module, which describes almost every Arduino Bluetooth project. It matters enormously the day you add a GPS, or move to 115200, or wonder why a second module went deaf.
Two footnotes for when it does start to matter. On an Uno, any pin can be the SoftwareSerial receive pin. On a Mega, only some can — the library needs a pin that can raise an interrupt when it changes, and on the Mega that is pins 10 to 15, 50 to 53, and A8 to A15. And if you need better timing than SoftwareSerial gives you, AltSoftSerial is more accurate but takes away your choice of pins: on an Uno it is fixed to 8 for receive and 9 for transmit.
So which fix?
Use SoftwareSerial. At the speeds these modules run, its limitations are invisible, and getting your Serial Monitor back is worth more than the theoretical performance you gave up.
Keep pins 0 and 1 empty on principle. Anything you attach there costs you both the upload and the ability to debug, and you will pay that twice on every project.
If you are on a Mega, you do not need SoftwareSerial at all: the Mega has four hardware serial ports, and Serial1 is on pins 19 (RX) and 18 (TX). Wire the module there, use Serial1 in place of bt in the sketch above, and you get real hardware serial with none of the compromises — and pins 0 and 1 stay free for the USB connection.
What if that was not it
If the upload still hangs with the module's data wires disconnected, the module was never involved. Work through these in order — they are ranked by how often they turn out to be the answer.
| Check | What to look for |
|---|---|
| Board selection | Tools → Board must match the board in your hand. A Nano selected as an Uno fails exactly like this |
| Port selection | Tools → Port — if no port is listed at all, the computer cannot see the board and nothing else matters |
| The cable | A surprising number of USB cables are charge-only. Swap it for one you have moved files with |
| A clone's driver | Boards with a CH340 chip need a driver on some systems. No port appearing is the tell |
| Anything else on 0 and 1 | A GPS, an RFID reader, an ESP-01, a shield that quietly uses those pins — same collision, same symptom |
| Nano bootloader | An older Nano may need Tools → Processor → ATmega328P (Old Bootloader) |
| The reset button | If the board only takes an upload while you press reset by hand, the auto-reset circuit is the fault, not the sketch |
Two more, less common but worth knowing. A sketch that writes to Serial continuously in a tight loop() can make the board hard to reprogram, because it is flooding the port at the moment the bootloader wants it — the fix is the same as pressing reset at the right time, or uploading a blank sketch. And a genuinely damaged USB-to-serial chip will show no port at all, on any computer, with any cable.
The short version
The module is not broken, and neither is the board. Pins 0 and 1 are the board's one hardware serial port, the USB upload needs that port to itself, and anything else wired to it will collide with the bootloader.
Pull two wires to prove it. Move the module to pins 10 and 11 to stop repeating it.
There is more of this — every symptom, with the test that identifies it — on the Arduino Bluetooth fixes index. If the module also never showed up in your phone's list in the first place, that one is usually power.
Common questions
- Why does unplugging just two wires fix the upload?
- Because those two wires are the only part of the module that touches the serial port. VCC and GND carry power, not data, so the module can stay powered while its TXD and RXD are off the board. With those two pins free, the bootloader has the port to itself and the upload proceeds normally.
- Is it safe to leave the module powered while I upload?
- Yes. VCC and GND do nothing to the upload. The module will sit there advertising, and it will still be advertising when the upload finishes. Only the data wires matter.
- Does this happen with HC-06, HM-10 and the clones too?
- Yes, and with anything else that speaks serial — a GPS, an RFID reader, an ESP-01. The problem is the pins, not the part. Pins 0 and 1 are the board's one hardware serial port and the USB upload uses it, so whatever else is attached to them will collide with it.
- I moved to SoftwareSerial and now the module sends nothing. What changed?
- Almost certainly the sketch. Moving the wires does not move the code: a sketch that still reads Serial is reading the USB port, not the module. Every read and write for the module has to go through the SoftwareSerial object instead — bt.available() and bt.read() rather than Serial.available() and Serial.read().
That is the written version. The same thing, worked through end to end:
 31:18
31:18Arduino Won't Upload With Bluetooth Connected — It Is Pins 0 and 1
Why pins 0 and 1 are not ordinary pins, the sixty-second test that proves it, both fixes, and what SoftwareSerial actually costs you.
Watch on YouTubeStill not connecting?
Arduino Bluetooth — Make It Connect is a 277-page book of every way the link fails, why, and the fix — HC-05, HC-06 and HM-10 BLE, including the clone family few sources cover. PDF and EPUB, $15.