Arduino Car Photo Gallery
Arduino Car Photo Gallery
Welcome to our Arduino car photo gallery! Here you'll find a collection of high-quality photos showcasing the entire process of building an Arduino-controlled car. From laying out the components to the final testing phase, these photos will give you a clear visual guide of what to expect.
Share Your Photos | Download All Photos
Building Process
Step-by-step photos of the Arduino car building process
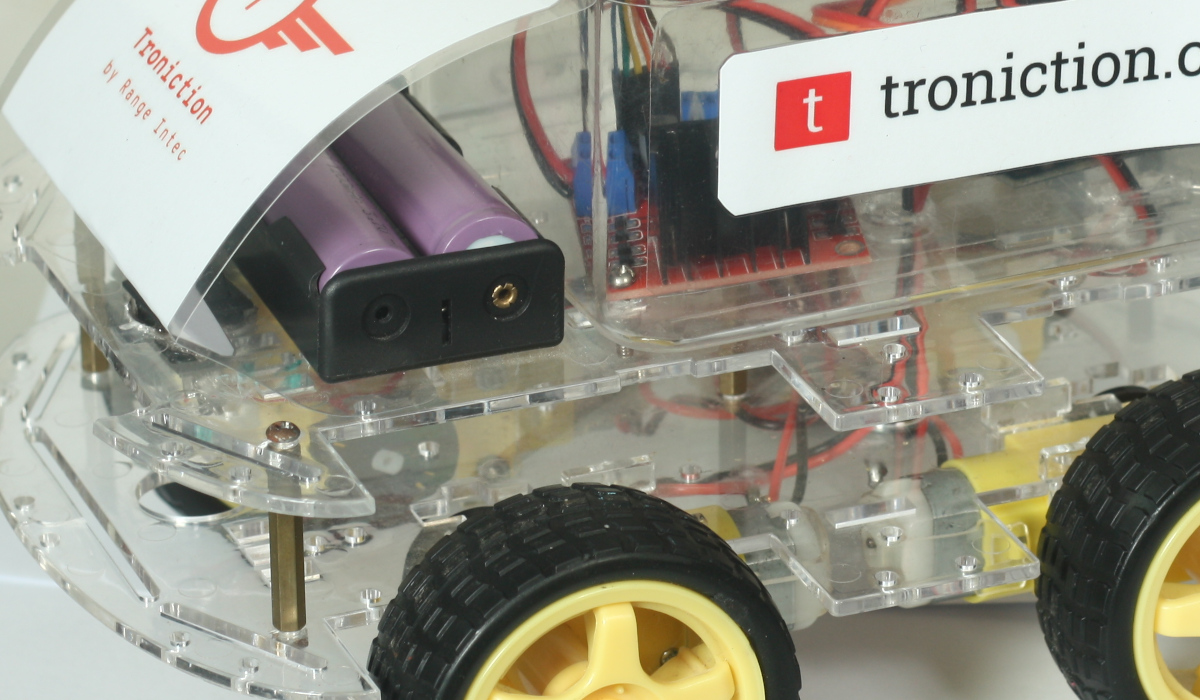
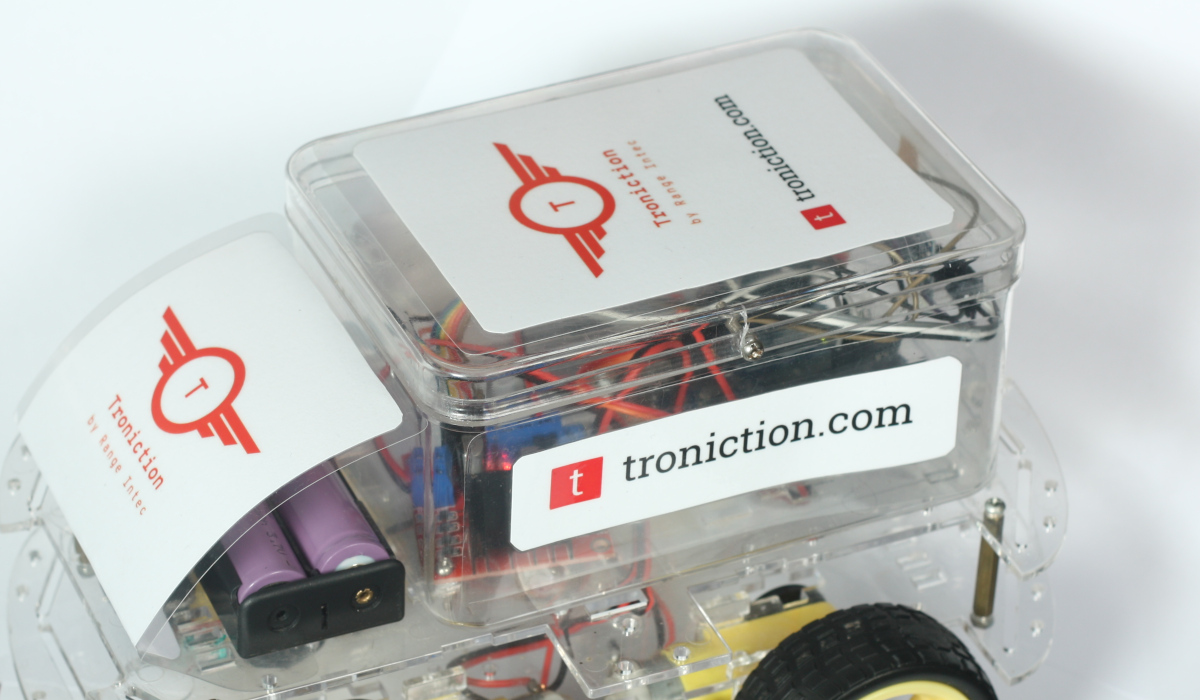
- Components Layout - All components laid out before assembly
- Wiring Process - Connecting the components together
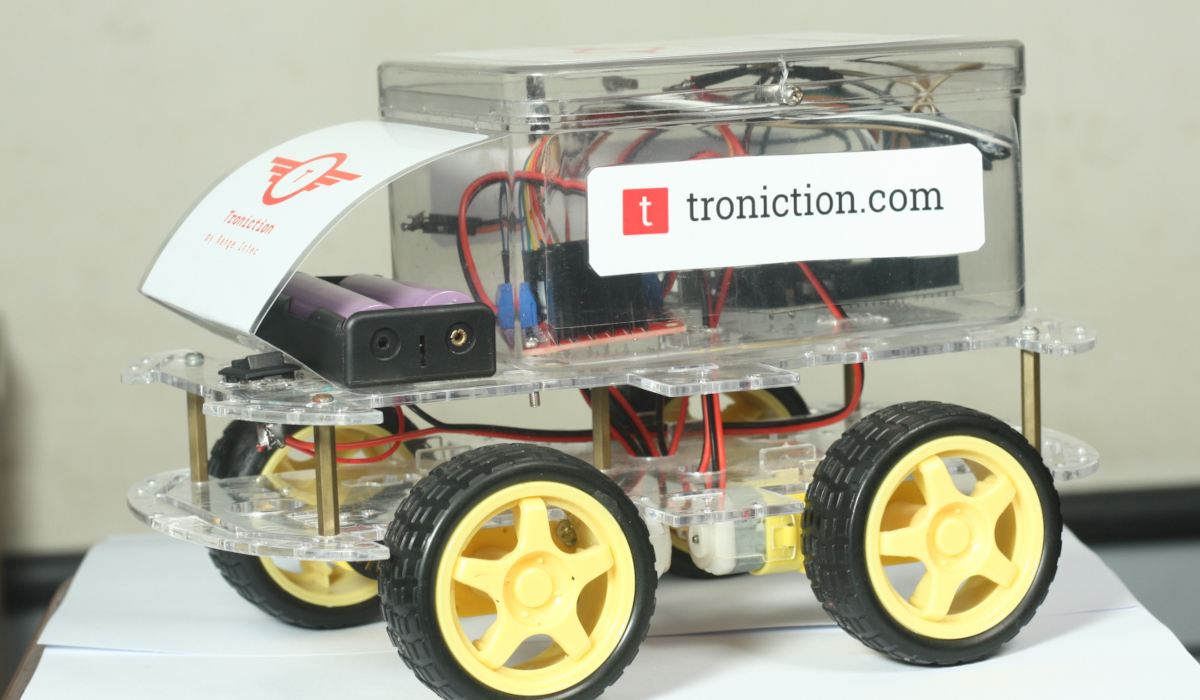
- Final Assembly - The completed Arduino car assembly
Testing Phase
Photos from the testing and debugging phase
- Code Upload - Uploading the Arduino code
- Bluetooth Testing - Testing Bluetooth connectivity
- Movement Testing - Testing car movements
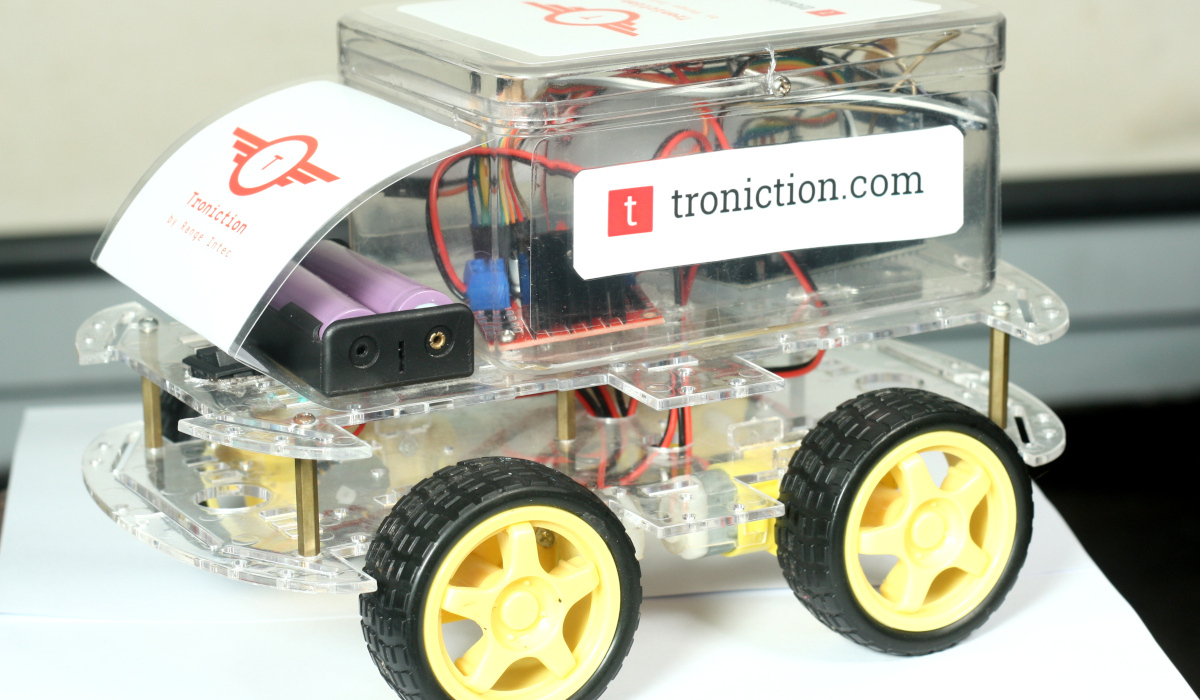
Final Product
The completed Arduino car in action
Share on [Twitter](https://twitter.com/intent/tweet?text=Arduino Car Photo Gallery&url=https://www.troniction.com/rc-car/photos&via=&related=) or Facebook
Want to Build Your Own Arduino Car?
Get our comprehensive guide that walks you through the entire process of building your own Arduino-controlled car, complete with detailed photos and step-by-step instructions!