
Build guide
Build an Arduino car — the six steps
This is the whole build, in six steps, free and online. It is the same build as the book — the book just puts it on paper with every step photographed.
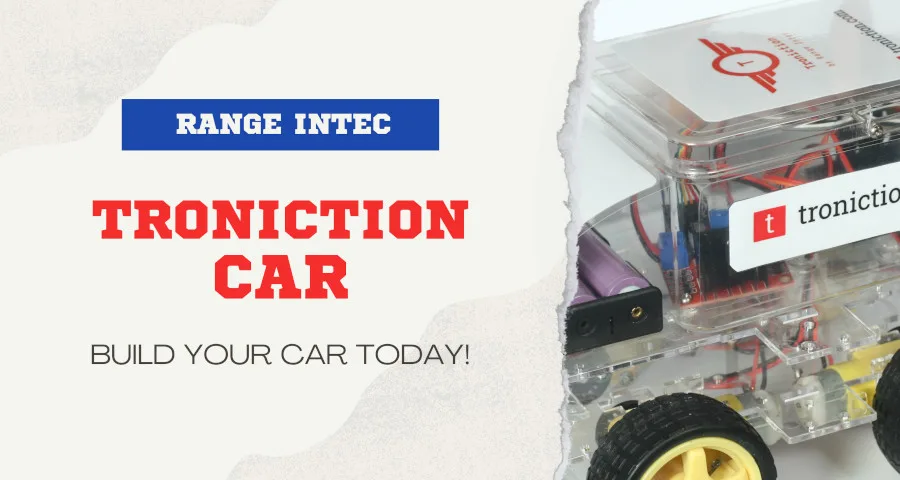
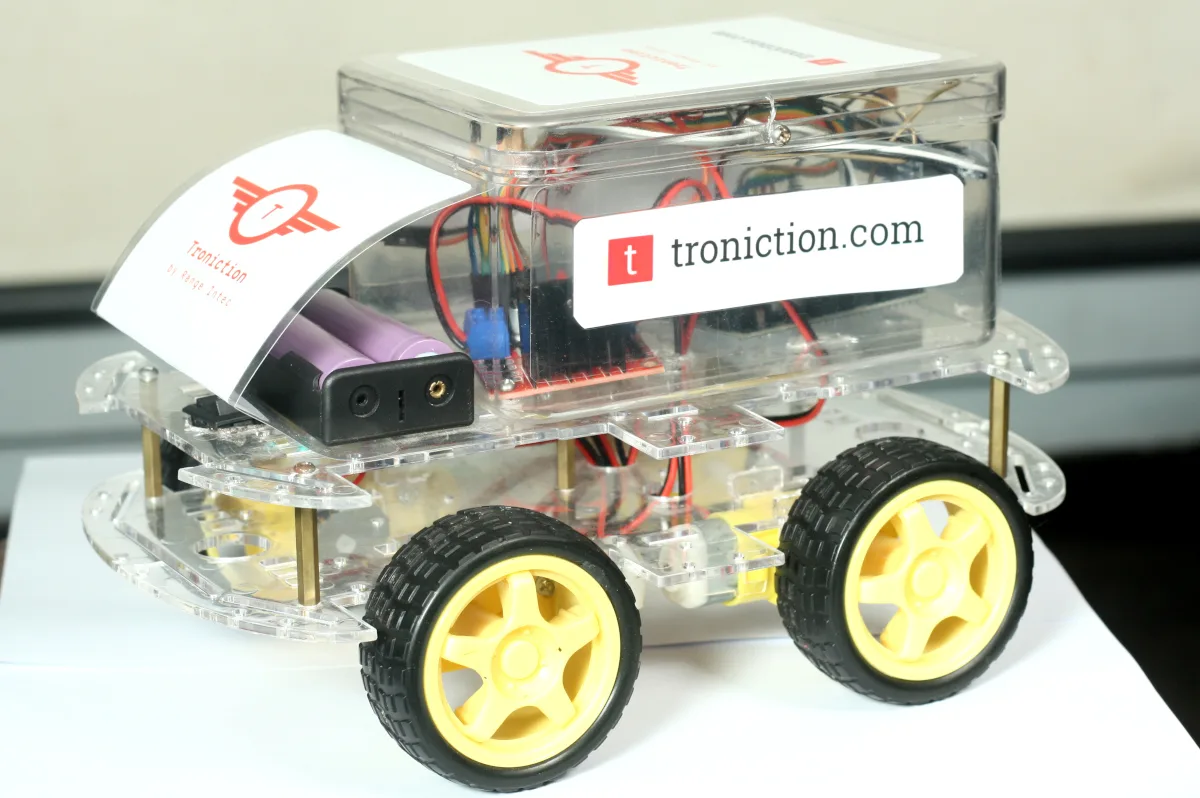
What you end up with: a four-wheel car you assembled from parts, driven from a phone over Bluetooth, with a horn and a reversing beep. No prior electronics, and no soldering anywhere in it.
The six steps
Step 1 — Get the parts
A named list with what each part is for. Nothing on it needs soldering — the gear motors come with their wires attached, and everything else is a screw terminal or a pin that pushes on. Read the whole list before you buy anything; the usual way this stalls is one missing part and a week of waiting.Step 2 — Wire it up
Motors to the driver, driver to the Arduino, then the Bluetooth module, the buzzer and the battery. Five connections. Only one is fiddly: the motors on one side of the chassis face the other way, so their wires go in swapped, or two of your wheels spin backwards. Nothing breaks if you get it wrong — you swap two wires and carry on.Step 3 — Write the code
You do not type this in. The sketch is a download, and the guide explains it line by line so that when your kid asks what a line does, you have an answer. The short version: the phone sends one letter per button, and the Arduino decides what to do with it.Step 4 — Upload it
Laptop, USB cable, one button. This is the step where an adult should be holding the laptop — not because it is dangerous, but because it involves installing software and clicking through dialogs. Budget twenty minutes. Written out below.Step 5 — Drive it
Pair the phone with the Bluetooth module, open the controller app, and drive. This is the part they remember, and it is worth filming. Written out below.Step 6 — Share it
Show what the two of you built. Below as well.
Step 4 — Upload it
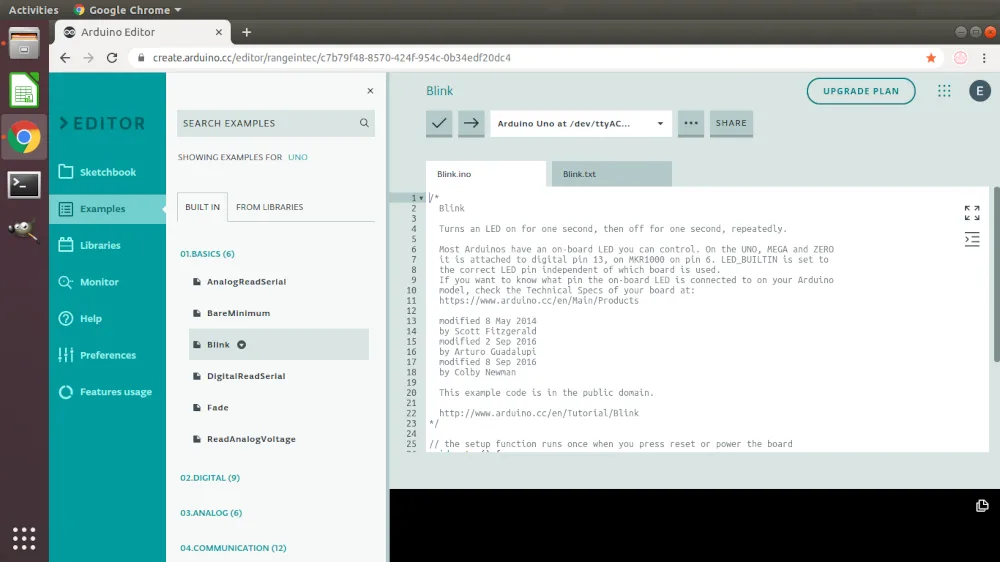
The sketch is a download, not something you type. Get it from the code page, or straight as a zip archive.
You need two things on the laptop: the Arduino Create web editor, and the plugin that lets a web page talk to a USB port. The editor will walk you through installing the plugin the first time. Then it is Sketchbook > Import, pick the zip, choose your board and port, and press Upload.
Unplug the two Bluetooth data wires before you upload. The HC-06 sits on pins 0 and 1, and those pins are the serial port the USB cable programs the board over. Leave the module connected and it talks over the top of the upload, which fails with an avrdude error that explains nothing at all.
This is the single most common way this build stalls, and nothing about it looks like a radio problem — people buy a new cable and reinstall drivers instead. Pull TXD and RXD, upload, plug them back in. Full explanation in Arduino will not upload with Bluetooth connected.
On Windows the plugin is the Arduino Create Agent, and it has a few more dialogs than the other platforms. There is a screen-by-screen walkthrough in Uploading the car sketch on Windows.

Step 5 — Drive it
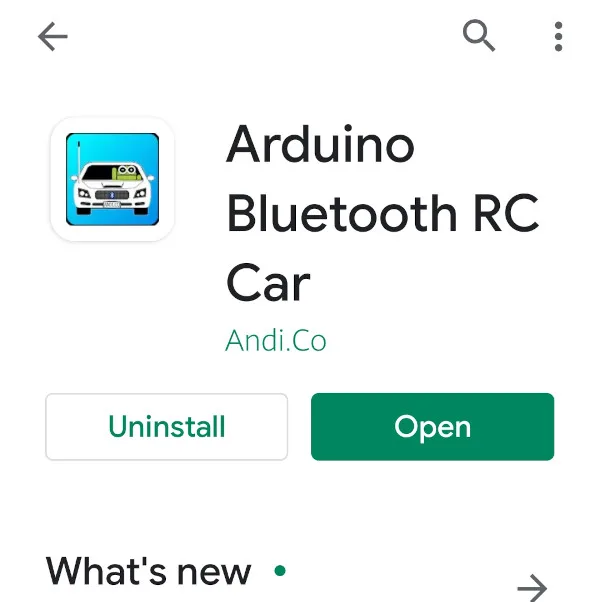
The controller is a free app: search the Play Store for Arduino Bluetooth RC Car.
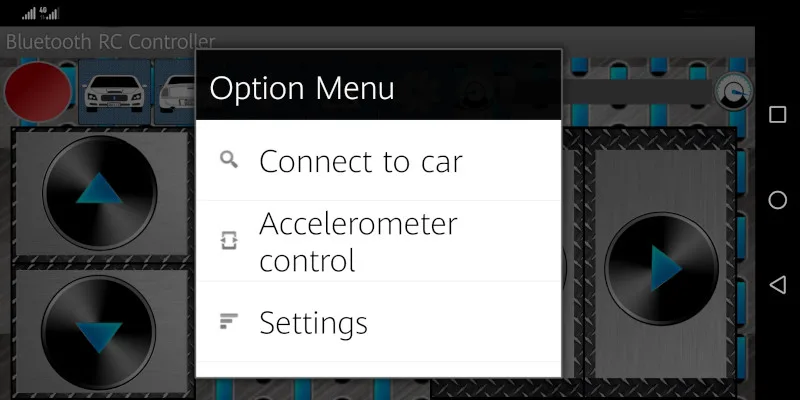
Open it, go into its settings, and pick your car from the list of paired devices. It shows up as HC-06.
Then drive it.
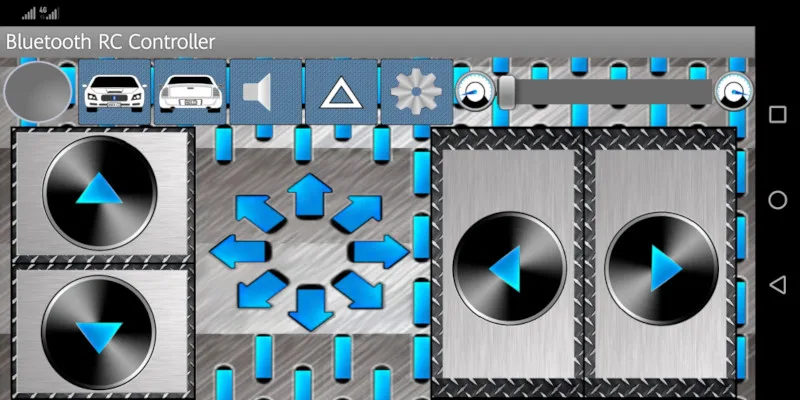
Worth knowing: under Option Menu > Settings the app shows the character it sends for each button. Those single letters are exactly what the sketch in step 3 switches on — so if you want a button to do something else, that is where the two ends meet.
Step 6 — Share what you built
Film it running and show it to someone. The Troniction Facebook group is where other people post theirs, or send it to me — I would rather see a car that works than get another email asking whether the guide is any good.
About the parts links
Some links on the parts list earn me a commission, and each one says so on the line. The rest earn nothing. Buy wherever is cheapest or closest — none of this build is specific to one shop.
The three parts worth understanding
You can build the car without reading these, but the point of the guide is that you finish knowing what you made: the Arduino Uno makes the decisions, the L298N motor driver does the pushing, and the HC-06 listens to your phone.
Stuck on something the guide does not cover? Tell me — if a step is unclear it is my problem, not yours, and it gets fixed for everyone.
Build it. Understand it.
Get the complete illustrated guide and start your first car — free.