
Component
Arduino Uno R3: pins, power and limits
A small computer with no screen. You give it instructions once, over USB, and it runs them every time it has power, forever, until you give it different ones. That is the whole idea. It cannot do two things at once and it has no memory of yesterday.
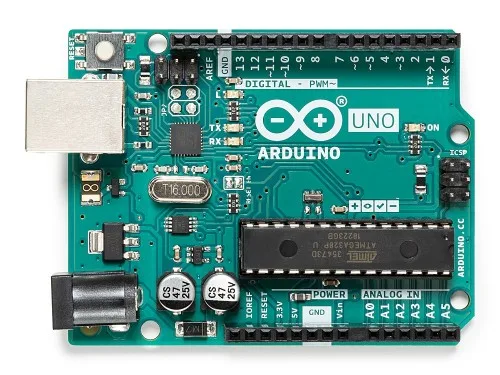
Every pin this car uses
An Uno has 14 digital pins and 6 analog ones. This build uses nine of them, and knowing which is which turns the wiring from a diagram you copy into something you can debug.
| Pin | Goes to | Job |
|---|---|---|
0 (RX) | HC-06 TXD | the Bluetooth link |
1 (TX) | HC-06 RXD | |
2 | buzzer signal | the horn and the reversing beep |
5 | L298N ENA | speed, left and right |
6 | L298N ENB | |
9 | L298N IN4 | direction |
10 | L298N IN3 | |
11 | L298N IN2 | |
12 | L298N IN1 | |
Vin / GND | battery pack | power, and the shared ground |
Pins 0 and 1 are not ordinary pins
This is the one thing on this page worth memorising.
Pins 0 and 1 are the hardware serial port — the same one the USB cable uses to load your sketch. When you upload, the bootloader is listening on that port for a specific sequence of bytes. If the Bluetooth module is also sitting on those pins, it is talking over the top of the conversation, and the bootloader hears noise where it expected its instructions.
Two devices, one wire, and no way for either to know the other is there.
Unplug the HC-06’s two data wires before uploading, and plug them back in after. Leave them connected and the upload fails with an avrdude error that explains nothing — which is why people go and buy a new USB cable, reinstall the drivers, and conclude the board is dead. There is a full write-up of it in Arduino will not upload with Bluetooth connected.
What a pin can and cannot drive
A pin can signal, but it cannot push. One supplies roughly 20 milliamps. A gear motor wants a few hundred. Wire a motor straight to a pin and you do not get a slow car — you get a dead Arduino.
That single number is the entire reason the L298N motor driver exists in this build. The Arduino never touches motor current; it only ever says which way and how hard, over six thin signal wires carrying almost nothing.
The same limit applies to the 3.3V pin, which is rated for 50 mA total — not per device, the whole rail. That is why the HC-06 goes on 5V instead.
Why the speed pins are 5 and 6
A digital pin is normally just on or off — 5 volts or nothing. There is no half on. PWM fakes it by switching on and off very fast and varying how long it stays on each cycle: on 60% of the time reads, to a motor, as roughly 60% power.
Only some pins can do that. On an Uno they are 3, 5, 6, 9, 10 and 11, and it is why the two enable wires sit on 5 and 6 rather than anywhere convenient. Put them on a non-PWM pin and speed control silently stops working — every setting behaves as full speed, and the sketch gets blamed.
Powering it
Over USB while you are programming. From the battery pack once the car is loose — the same two leads that feed the motor driver also go to Vin and GND, which powers the board and gives the two of them a shared ground at the same time.
An honest note. The Uno’s recommended Vin range is 7–12V, and two 18650 cells are 7.4V nominal — 8.4V fully charged. This car therefore lives at the very bottom of spec. It works, and has for years, but the board browns out well before the cells are actually flat. If the car starts behaving strangely, charge it before you debug it.
Genuine or clone
A clone is fine here, and cheaper — around $11 with a USB cable against roughly three times that for an official board. It runs the same code, has the same pins and the same limits. The differences that matter to some projects — the USB-serial chip, the quality of the regulator, supporting the people who designed it — do not change anything in this build.
The chip underneath
The board is a carrier for an ATmega328P microcontroller: 16 MHz, 14 digital I/O pins of which 6 do PWM, 6 analog inputs, a USB connection, a power jack, an ICSP header and a reset button.
Worth knowing that on a socketed board the chip lifts out. The worst thing that usually happens when you experiment is that you kill the ATmega and not the board, and a replacement is a couple of dollars.
Download the ATmega328P datasheet if you want the manufacturer’s own document.
Where this fits
The Uno makes the decisions, the L298N does the pushing, and the HC-06 listens to your phone. Getting the sketch onto the board is step 4 of the build guide — the step worth having an adult at — and every part has a page.
Every part of the car
 Arduino Uno R3: pins, power and limits
You are here
Arduino Uno R3: pins, power and limits
You are here
 L298N motor driver for an Arduino car
Motion
L298N motor driver for an Arduino car
Motion
 HC-06 Bluetooth module for Arduino
Control
HC-06 Bluetooth module for Arduino
Control
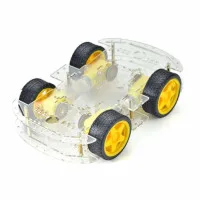 Chassis, Wheels and Gear Motors
Motion
Chassis, Wheels and Gear Motors
Motion
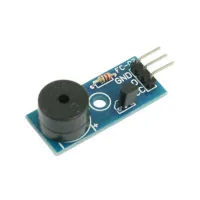 Buzzer
Sound
Buzzer
Sound
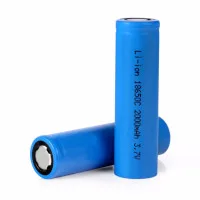 18650 Lithium-Ion Batteries
Power
18650 Lithium-Ion Batteries
Power
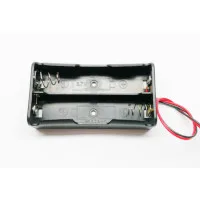 18650 Battery Holder
Power
18650 Battery Holder
Power
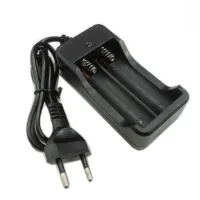 18650 Battery Charger
Power
18650 Battery Charger
Power
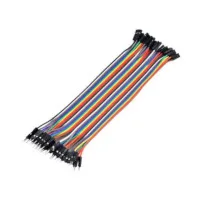 Jumper Wires and Circuit Wire
Wiring
Jumper Wires and Circuit Wire
Wiring
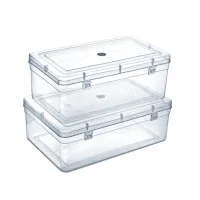 Transparent Enclosure Box
Housing
Transparent Enclosure Box
Housing
Build it. Understand it.
Get the complete illustrated guide and start your first car — free.