
Component
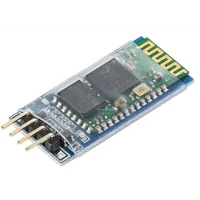
HC-06 Bluetooth module for Arduino
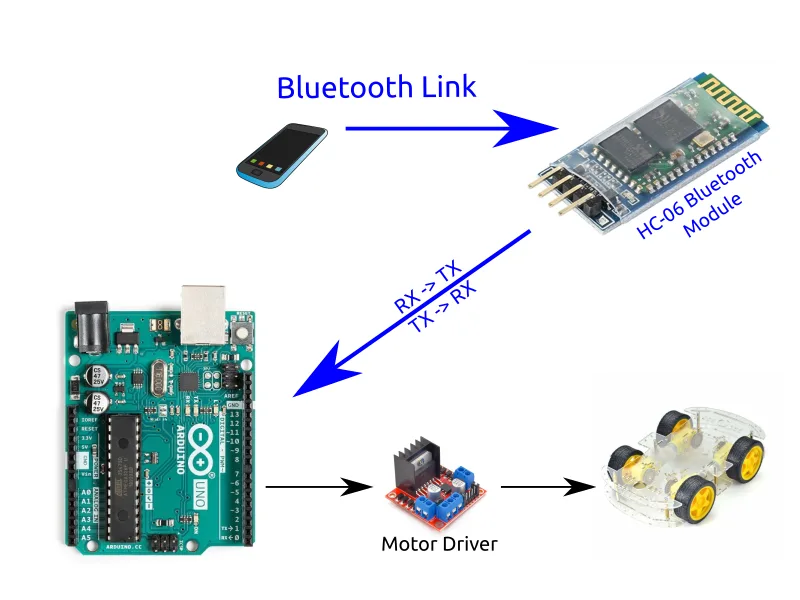
A Bluetooth radio that pretends to be a wire. Your phone connects to it, the app sends a single letter, and the HC-06 hands that letter to the Arduino as though someone had typed it. Press forward and the phone sends F. That is the entire protocol, and once you know it the code stops being mysterious.
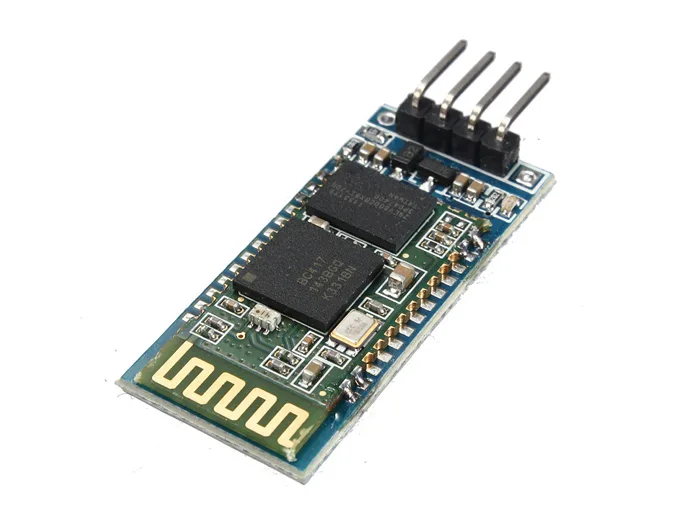
Read this before you buy one
Classic Bluetooth SPP — which is what an HC-05 and an HC-06 speak — is invisible to iOS at the operating-system level. No app fixes it, no library fixes it, and no wiring change fixes it. You need a BLE module: a genuine HM-10, or an ESP32. And Web Bluetooth is not the escape hatch — it is not in Safari, any version.
This is the single most expensive mistake in the subject, because it cannot be fixed after the fact and because it does not look like a hardware problem. Your code is fine. Your wiring is fine. The phone simply cannot see the module, and never will.
Which of the three you actually want
| HC-06 | HC-05 | HM-10 | |
|---|---|---|---|
| Bluetooth | Classic 2.0 | Classic 2.0 | BLE 4.0 |
| Android | yes | yes | yes |
| iPhone | no | no | yes |
| Role | slave only | slave or master | slave or master |
| Configuring | barely needed | full AT set | full AT set |
| Price | cheapest | a little more | ~1.2–1.8× the HC-06 |
The short answer. First project, Android phone, want it working tonight — HC-06. Anything involving an iPhone — HM-10. Two Arduinos talking to each other — HC-05.
This car uses the HC-06, and the simplicity is a real feature: there is almost nothing to configure, so there is almost nothing to configure wrongly. What you give up is initiating. It is a slave and only a slave — it sits there advertising and something else connects to it. An HC-06 can never be the one that reaches out.
Four wires, and one of them crosses
| Module pin | Goes to | Why |
|---|---|---|
VCC | Arduino 5V | Not 3.3V — see below |
GND | Arduino GND | Both grounds must be the same ground |
TXD | Arduino RX | Its talking pin feeds your listening pin |
RXD | Arduino TX, through a divider | Its listening pin, fed by your talking pin |
The crossing is the part people get wrong. In plain language rather than as a rule to memorise: TX means "this pin talks." Two things that both talk, wired together, produce silence. So the module’s talking pin has to reach the Arduino’s listening pin, and the other way round.
Wire it straight through — TX to TX — and nothing breaks. You simply get nothing, for ever, with no error to explain it.
Why the 3.3V pin betrays you
Here is a mistake that looks like sound reasoning. The module is a 3.3V part. The Arduino has a 3.3V pin. Therefore the module goes on the 3.3V pin.
It does not, and the numbers say why:
| Current | |
|---|---|
| Uno’s 3.3V pin, maximum draw | 50 mA — the whole rail, for everything |
| Module while pairing or searching | under 40 mA |
| Module while actually sending | about 20 mA |
| Module paired but idle | under 8 mA |
Forty against fifty is not headroom. It is a rail running at eighty percent of its rating at exactly the moment the module needs it most — during pairing, the very thing you are trying to get to work.
The symptom that fills the forums: it appears in the phone’s list, you tap it, and it vanishes. Nothing is broken. The supply sagged at the worst possible moment. Move VCC to the 5V pin — the breakout board carries its own 3.3V regulator, and using the 5V pin is using the board as designed.
The divider question, and why both camps are right
This is the argument the internet cannot settle, and the reason is that the answer is different in each direction.
Module TXD → Arduino RX: connect it directly. The Arduino’s input needs at least 3.0V to read a HIGH, and the module drives 3.3V. Three point three clears three. No resistors, nothing to buy.
Arduino TX → module RXD: fit the divider. Now the Arduino drives a full 5V into an input designed for 3.3V. You are not comfortably inside the spec, you are past it, on every bit you transmit.
Plenty of people will tell you they skipped it and their module is fine. They are describing a real experience — most breakout boards put some protection on that input, and many modules survive 5V indefinitely. What you do not see are the ones that did not, because a module killed this way does not announce itself. It stops answering, the owner concludes it was faulty, buys another, and often gets away with it the second time. Two resistors cost a few cents. Fit them.
Baud rate and AT commands
The HC-06 runs at 9600 for data, and unlike the HC-05 it has no separate AT baud rate — one number does both jobs. If your Serial Monitor is showing symbols instead of words, that is a baud disagreement, not a broken module.
It accepts AT commands whenever it is powered and not connected to anything. There is no button and no mode to enter. The trap is the second half of that sentence: the moment a phone connects, the HC-06 stops listening to you and starts passing your bytes through to the phone. If your AT commands are being ignored, check whether something is paired to it.
The numbers
From the manufacturer’s datasheet, for reference rather than reading:
| Spec | Value |
|---|---|
| Protocol | Bluetooth V2.0 |
| Band | 2.40 – 2.48 GHz, ISM |
| Power level | Class 2 (+6 dBm) |
| Receiver sensitivity | −85 dBm |
| Operating voltage | +3.3V to +6V |
| Operating current | 40 mA |
| Temperature range | −20 °C to +55 °C |
Download the HC-06 datasheet if you want the manufacturer’s own document.
Where this fits
The Arduino Uno makes the decisions, the L298N does the pushing, and the HC-06 listens to your phone. Wiring it is step 3 of the build guide, and every part has a page.
When the link itself misbehaves — it never appears, it pairs and drops, the characters are garbage — the Arduino Bluetooth fixes index lists every symptom with the test that identifies it.
Every part of the car
 Arduino Uno R3: pins, power and limits
Brain
Arduino Uno R3: pins, power and limits
Brain
 L298N motor driver for an Arduino car
Motion
L298N motor driver for an Arduino car
Motion
 HC-06 Bluetooth module for Arduino
You are here
HC-06 Bluetooth module for Arduino
You are here
 Chassis, Wheels and Gear Motors
Motion
Chassis, Wheels and Gear Motors
Motion
 Buzzer
Sound
Buzzer
Sound
 18650 Lithium-Ion Batteries
Power
18650 Lithium-Ion Batteries
Power
 18650 Battery Holder
Power
18650 Battery Holder
Power
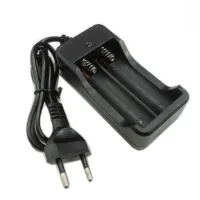 18650 Battery Charger
Power
18650 Battery Charger
Power
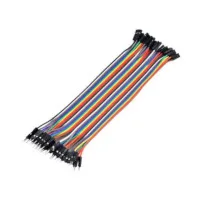 Jumper Wires and Circuit Wire
Wiring
Jumper Wires and Circuit Wire
Wiring
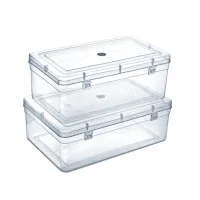 Transparent Enclosure Box
Housing
Transparent Enclosure Box
Housing
Build it. Understand it.
Get the complete illustrated guide and start your first car — free.