
Component
Jumper Wires and Circuit Wire
Two different kinds of wire go into this car, and using the wrong one is the difference between a connection that survives being driven into a skirting board and one that does not.
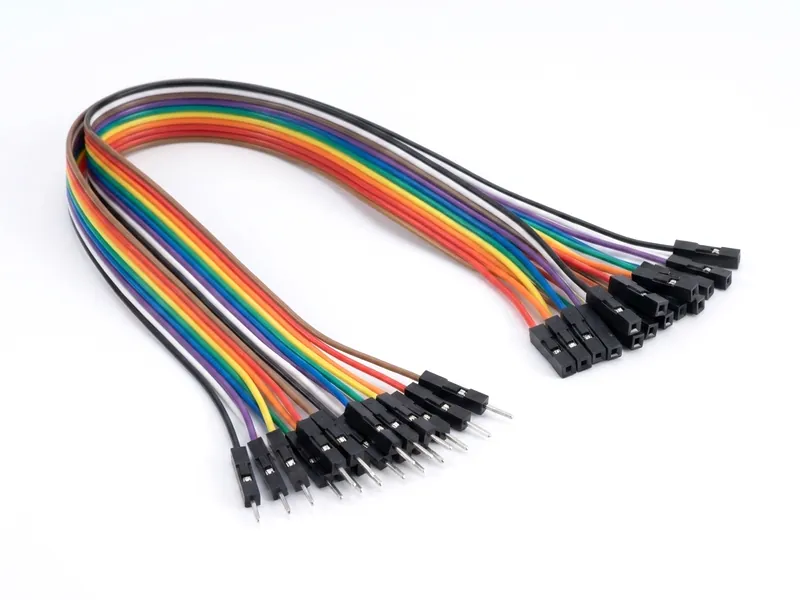
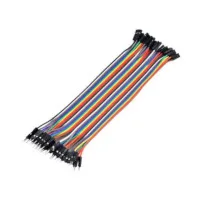
Male-to-female jumper wires
These are the rainbow ribbon. They connect the modules to the Arduino, and the reason they are male-to-female and not either of the other two kinds is simply what is on each end:
- The Arduino's headers are sockets, so the Arduino end of the wire has to be a pin — the male end.
- The HC-06 and the L298N present pins, so that end of the wire has to be a socket — the female end.
Count what the car needs before you buy: six for the L298N logic pins (EnA, EnB and IN1 to IN4), four for the HC-06, three for the buzzer module, plus the two power leads. A standard 40-way ribbon covers it several times over, and you will pull the spares apart for the next project anyway.
Colour discipline saves you an evening
The ribbon comes as a rainbow because it is meant to be split up, not kept as a block. Two rules are enough:
- Red is always +, black is always ground. Never use them for anything else, on any part of the car.
- Keep one colour per module. If the HC-06's TX is green today it should be green when you rewire the car in a month.
The failure these actually cause
A crimped Dupont connector holds by friction, and a car shakes. The classic symptom is a car that works perfectly on the desk and then dies a metre into its first drive, or one whose Bluetooth drops every time it hits something. It is almost never the module.
Push every connector fully home — you should feel it click over the shoulder of the pin, not just perch on the tip. Then, once the car works, put a small dab of hot glue where the wires meet the HC-06 and the L298N headers. It peels off with a fingernail when you want to change something, and it ends the problem.
Circuit wire, for the screw terminals
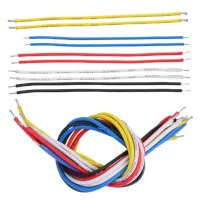
The L298N's motor and power connections are screw terminals, and a jumper wire's crimped end does not belong in one. Use plain solid-core wire, around 22 AWG — that carries the car's couple of amps with room to spare.
- Strip about 5 mm, no more. Bare copper sticking out past the terminal is a short waiting for a knock.
- Solid core, not stranded. Stranded wire frays as the screw turns and one stray strand reaches across to the next terminal.
- Tighten firmly, then tug the wire. If it moves, it was not tight.
- Red and black here too, for the battery leads.
Every part of the car
 Arduino Uno R3: pins, power and limits
Brain
Arduino Uno R3: pins, power and limits
Brain
 L298N motor driver with Arduino: pinout, wiring and code
Motion
L298N motor driver with Arduino: pinout, wiring and code
Motion
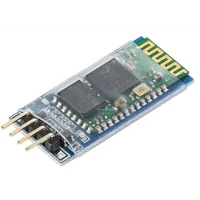 HC-06 Bluetooth module for Arduino
Control
HC-06 Bluetooth module for Arduino
Control
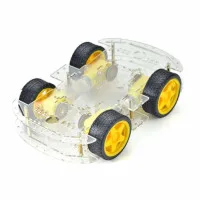 Chassis, Wheels and Gear Motors
Motion
Chassis, Wheels and Gear Motors
Motion
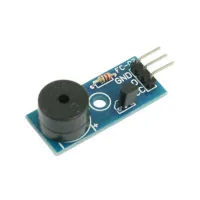 Buzzer
Sound
Buzzer
Sound
 18650 Lithium-Ion Batteries
Power
18650 Lithium-Ion Batteries
Power
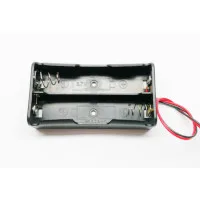 18650 Battery Holder
Power
18650 Battery Holder
Power
 18650 Battery Charger
Power
18650 Battery Charger
Power
 Jumper Wires and Circuit Wire
You are here
Jumper Wires and Circuit Wire
You are here
 Transparent Enclosure Box
Housing
Transparent Enclosure Box
Housing
Build it. Understand it.
Get the complete illustrated guide and start your first car — free.